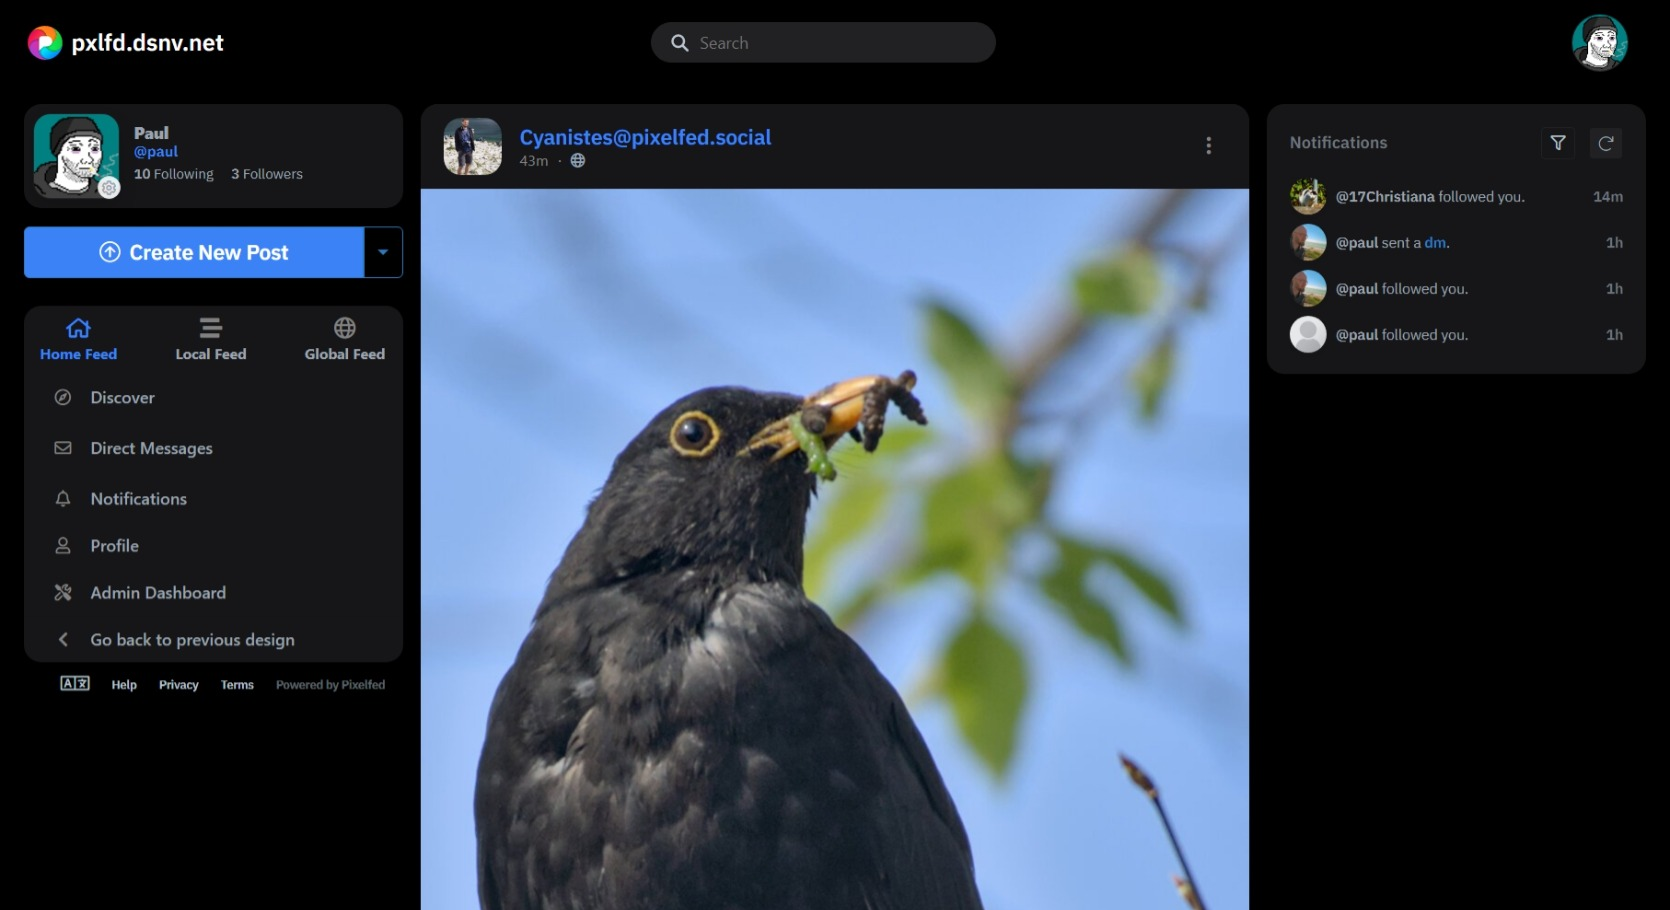
Just my quick notes on installing Pixelfed using Docker Compose, long term I’d like to write this up into a proper guide. Important things to note - Pixelfed as of the moment doesn’t have an official Docker image, normally you’d pull it from Github and build it yourself. However since version 0.11.5 I’ve started using an existing image maintained by Murazaki.
Web proxy
-
Assuming you’re running Nginx on the web host you’ll need to setup a proxy by adding something like this to your
.conffile:location / { proxy_set_header Host $host; proxy_set_header X-Real-IP $remote_addr; proxy_set_header X-Forwarded-For $remote_addr; proxy_pass http://127.0.0.1:8080; } -
If you’re using Certbot, you may need to tweak how Nginx handles the ACME Challenge, I use the below to make sure the certificate request isn’t proxied to Pixelfed:
 location /.well-known/acme-challenge/ {
   alias   /path/to/web/site/.well-known/acme-challenge/;
   allow all;
 }
Please be aware Pixelfed expects to receive traffic from /.well-known/webfinger* and potentially other addresses for ActivityPub.
Pixelfed
-
Grab the
docker-compose.ymlfile off the Github repository, we wanna comment out the build instructions and just use the above image, like the below for both the app and worker.# Comment to use dockerhub image # build: # context: . # dockerfile: contrib/docker/Dockerfile.apache image: murazaki/pixelfed:edge-apache -
Grab the
.env.dockerfile off the repository, make sure to edit the below plus any database names and passwords etc:## General Settings APP_NAME="Pixelfed Prod" APP_ENV=production APP_DEBUG=false APP_URL=https://real.domain APP_DOMAIN="real.domain" ADMIN_DOMAIN="real.domain" SESSION_DOMAIN="real.domain"
Check through the file and change any other settings as required. Its quicker to do it before hand as by default Pixelfed will cache the config, requiring it to be cleared etc. Pixelfed does not handle changing domain after installing, so make sure you’re happy with the domain you’re using.
-
Ok we should be good to run
docker-compose up -d. -
Check any firewall rules that might be blocking the Docker bridge.
-
Generate a crypto key using
docker-compose exec app php artisan key:generatethis will also enter it into.env.dockerfor you, but you could runcat .env.docker | grep APP_KEYto check. -
Restart the app
docker-compose restart app. -
Clear the config cache with
docker-compose exec app php artisan config:cache. -
Setup the database using
docker-compose exec app php artisan migrate. -
Restart the app
docker-compose restart app. -
Create your first user with
docker-compose exec app php artisan user:create. -
Visit the domain, you should be able to login.
-
Additional steps depending on how you want to run it, run
docker-compose exec app php artisan instance:actorif you want to use ActivityPub.
Should be good to go, generally after updates will need to run docker-compose exec app php artisan migrate and I’ve had a few cases where profile pictures etc weren’t loading after an update, fixed by running docker-compose exec app php artisan storage:link.
Detailed CLI documentation. My Pixelfed account.
Any questions? Feel free to drop a comment below.
Update 14th June 2023
I’ve actually recently started using zknt’s Docker image this has got a few benefits, such as a startup script that automatically handles the initial install and does a migrate after an update. Additionally it is updated much more frequently.
